
Tuesday, January 31, 2012
Monday, January 30, 2012
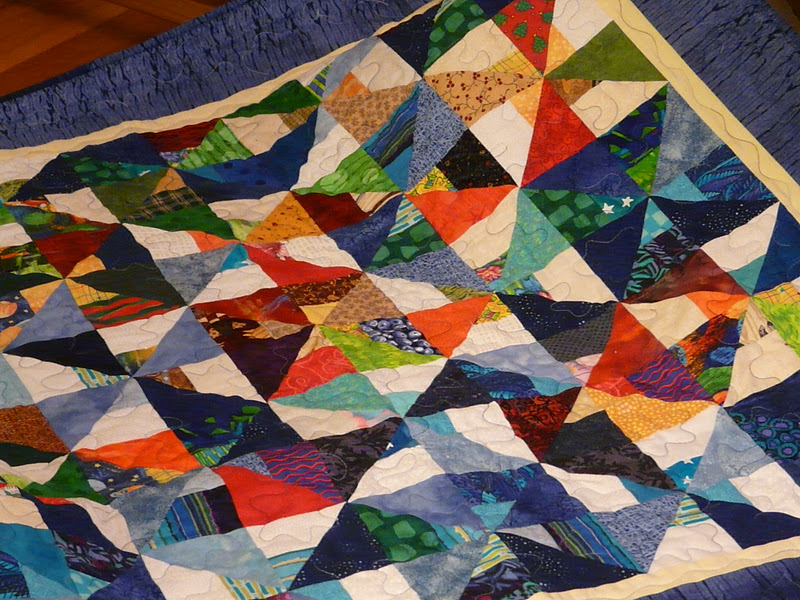
Robin's Egg Blue

Dorothys' Block
Dorothy gave each of us a picture from Dr. Suess Grinch fabric. We are to add a small border around the picture.......

Sunday, January 29, 2012
Update from Linda


Linda's been pretty busy already.
She's been working on blocks for Daisy, Cindy, Jan, Beth, Lisa, Beth and Georgia.
To read more about Linda's work, visit her blog.
Beth's block


This is Beth's block. It's a Sawthooth Star.
She would like fabric in the blues and greens as shown in the stars.
That's all. Just the fabric.
She wins the award for the easiest 'block' this year.
Eileen's block


This is Eileen's block. It's called Swoon.
The instructions are pretty involved. She provided the fabric. Some people have a gray background, some have a white background.Here are the instructions she gave us follow:
Make hsq's from two 3-7/8" squares to make two hsq's (with color 2 and background)
Repeat this process with color 1 and background (make four of those)
Repeat again with color 1 and 2 (make 8 of those)
For the flying geese units, use one of the 6.5X3.5 (color 1) and two background 3.5" squares to make one flying geese unit.
Make four flying geese units with color 1 and background. Make 4 units with color two and background.
From the half square triangles, squares and rectangles make the four corner units.
From the flying geese and rectangles, make the four middle units of the blocks.
Lisa's block

This is Lisa's block. It's called Snowball Pansy.
Here are the instructions she gave us:Cut four 4.5 inch squares of red (all the same fabric) for the flowers
Cut 12 1.5 inch squares white for outside corners (magic corners)
Cut four 1.5 inch squares of yellow or orange for center of flower
Sew together in the manner shown.
If you feel inspired to make more than one, that would be great.
Jan's block


This is Jan's block. It's a disappearing four-patch.
Here are the instructions Jan gave us:Cut two 5 inch squares from a medium pink and a medium dark brown.
Stitch together and make a 4-patch block.
Slice the block from top to bottom and side to side 1 inch away from each center seam. You will make four cuts that will yield 9 units. DO NOT MOVE THE BLOCK WHILE YOU SLICE.
Rotate each of the four rectangle units 180 degrees. Do not rotate the center unit.
Sew the units together to make the completed block. It should measure 8.5, unfinished.
Daisy's block

This is Daisy's block. It's an on point 9-patch.
Here are the instructions that Daisy gave us (along with the setting squares and the center fabric):Start with a 12.5 inch 9-patch and become a 9-patch on point with the triangles
to each side of the original block.
The colors of the nine patch are blue and brown, with brown in the four corners,
a provided 4.5 star fabric for the center, and the other squares in a medium blue.
Carol's block

These are Carol's blocks.
The first one is a finish for a block we did two years ago called Blind Man's Fancy.
Here are the instructions Carol gave us for the flying geese:In whatever method you wish, make two lattice strips of flying geese that FINISH 1.5 by 3 inches.
The strips should finish 15 inches. Please use reproduction fabrics.
The geese should be dark to medium and the sky lights. They can be scrappy.
If you wish, you can add a four-patch to the end of each strip. It should measure 3 inches.

Strip Set
The second is a strip set made up of six 2.5 by 16 inch scrappy strips. Include one red strip in the set.
It doesn't make any difference where the red strip is placed in the set.
Linda's block

This is Linda's block. It's the same one she asked us to do last year.
Here are the instructions for this block:Cut 4 different 7.5 inch squares of batik
Cut 8 four-inch squares of black
Sew the black squares onto the corners as shown.
Turn and press.
Make four units and sew them together.
If you want to make more than 4 units, go ahead.
Terry's block

This is Terry's block. It's called Father's Fancy (reference Judy Martin's "Scraps" page 95)
Here are the instructions Terry gave us:This block is 15 inches with a lot of pieces. Please use dark blues for the darks
(navy, royal and cobalt) and cream, ivory, off-white tone-on-tones for the lights.
Also, replace one of the lights with the light blue pieces that were stapled to your instruction sheet.
Georgia's block

This is Georgia's block. She calls it her 'HI' quilt.
Here are the instructions she gave us (along with most of the fabric):Each 9 patch is made of 2 matching 2.5 square prints (given) and
7 matching black and white prints (2.5 inches).
Please choose two predominantly white for 2 of the 9-patches and
2 predominantly block for the other two 9-patches.
Black and whites that are balanced may be used for one or two of the nine patches.
She rally wants whites, not cream or off-white.
Don't sew the 9-patches together, she want to scatter the patterns.
Louise's block


This is Lousie's block. It's called Serendipity.
Here are the instructions she gave us:Make 4 rail fence blocks 6.5 unfinished.
Top rail: medium fabric 2.5 by 6.5 inches
Middle rail: dark fabric 2.5 by 6.5 inches
Bottom rail: light fabric 2.5 by 6.5 inches
Stitch and press.
Cut 4 dark squares 5 inches each
Cut 4 light squares 5 inches each
Draw a diagonal line from bottom left to top right.
Place a dark square right sides together on the rail fence block matching raw edges on the right side. Sew on diagonal line.
Place a light square (rst) on a rail fence block matching raw edges on the top and left side. Sew on the diagonal line.
This will be a child's quilt,so the brighter the colors the better.
Louise will make two quilts from these blocks ... see blow.

Dorothy's block


This is Dorothy's block for block exchange. It's super cute Grinch fabric.
Here are the instructions she gave us:Please add one each of red and green borders, up to 1.75 inches total width.
Stripes, plaids, dots, small prints welcome.
Note: Dorothy gave out two types of blocks, these were the instructions for the type I received.
I'll fill in the other type later.
Cindy's block

This is Cindy's block. It's a quadruple four patch (if that's even a type of block).
Cindy gave us all the fabric for her block and the following instructions:My block is a simple 16-patch made of pre-cut 4 inch squares. Please pay close attention to the color arrangement on the diagram (or the above blocks), especially the orange and the turquoise.
Cindy said she'll probably donate the quilt to Habitat for Humanity.
Phyllis' block

This is Phyllis' block for 2012 Block Exchange. It's a 9-patch variation.
Here are the instructions she gave:You'll need 18 different fabrics, but because they can be any color, print, texture, mood, period, etc.
Only value matters in this block. Each of the 9 squares is cut 2.5 inches and is bordered by a cut 1.5 inch strip of the opposite value. The rectangles are sewn to the square courthouse-steps style.
Make four dark and five light center squares or vice versa. Squares should measure 4.5 inches.
If you think the 9 blocks make a great cohesive 12 inch block, sew them together.
If you want to send Phyllis the 9 individual squares, that's okay too.
Mail Phyllis' blocks to her at:
1035 Redberry
Nipomo, CA 93444
Mail Phyllis' blocks to her at:
1035 Redberry
Nipomo, CA 93444
Subscribe to:
Posts (Atom)